If you are a Photoshop user who doesn’t understand Lightroom, you are missing a key part of the process. Every RAW file you open in Photoshop has to pass through Adobe Camera RAW (ACR), and guess what? ACR is just Lightroom by another name—and the tools in ACR let you get results you can’t achieve with Photoshop’s adjustment layers.
I say this as a die-hard Photoshop user who never thought Lightroom would be part of my workflow. But after spending the last few years teaching my Lightroom Reimagined approach to Lightroom, I’ve come to realize that using both sets of tools together lets me achieve results I can’t get any other way.
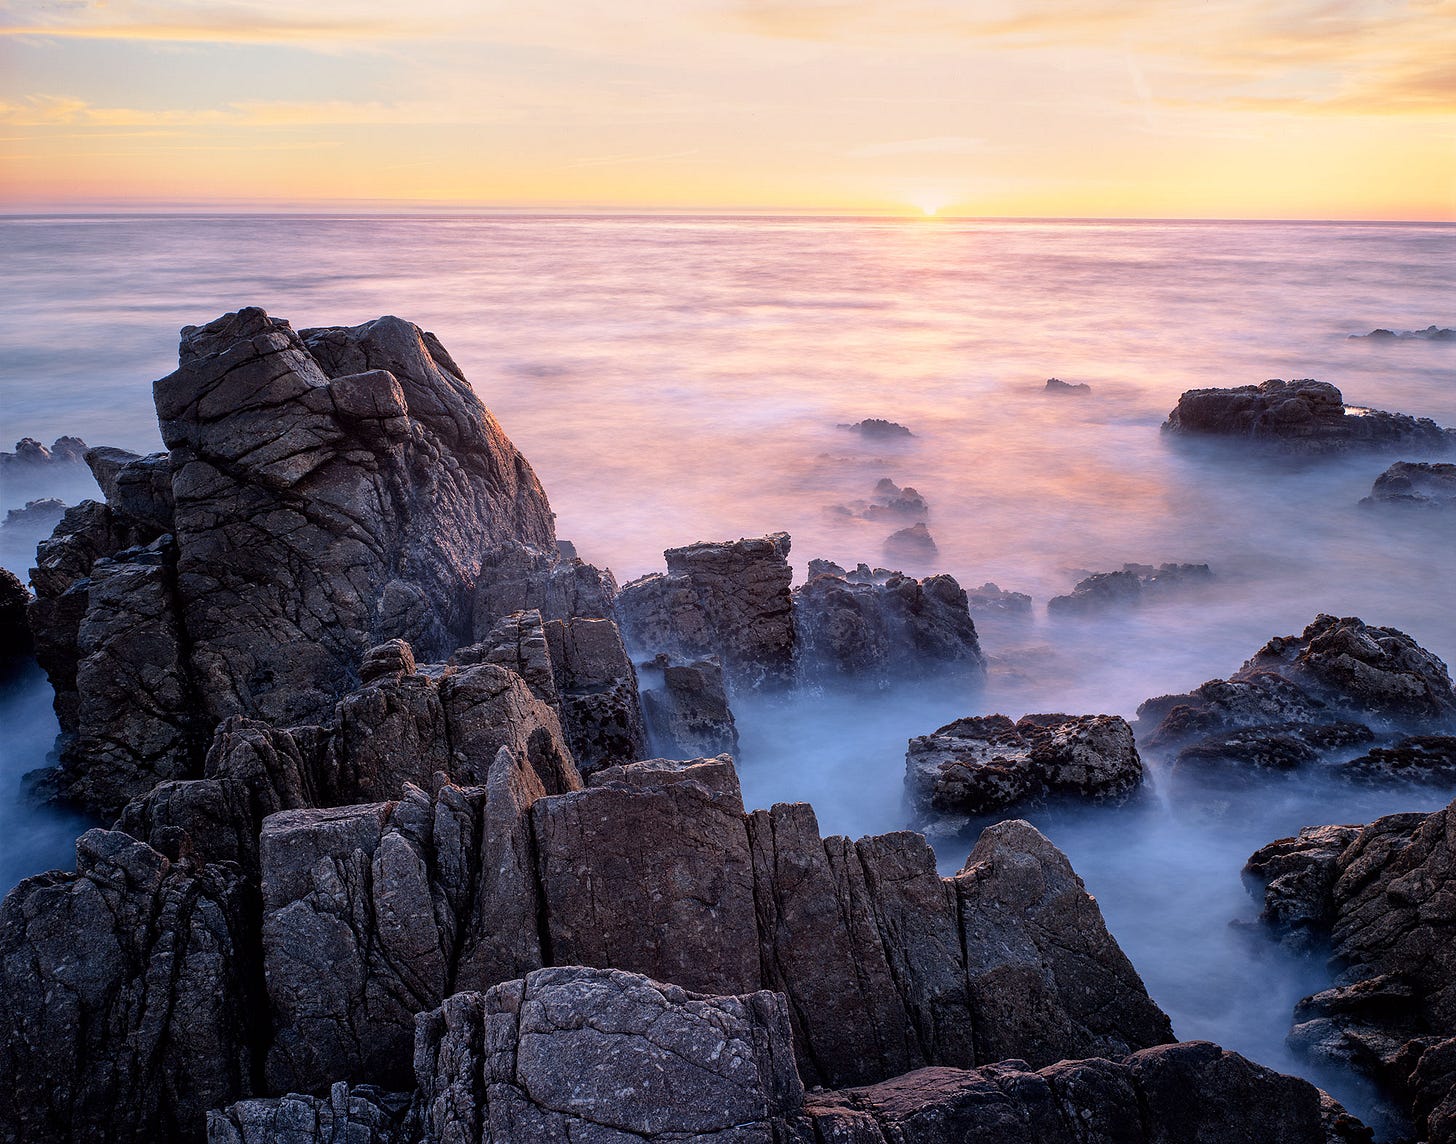
This is true for both digital camera files and scans of film photographs. The photo above is one that has languished in my portfolio for years. Despite lots of effort in Photoshop, I could never get this photo made with 4x5-inch film to move from my “good” pile into my “great” pile. Then the light went on: I needed to approach this as if it was a RAW file from a modern camera, not a drum scan from film, and use the tools I would use in Lightroom.
So, I opened my Photoshop file, converted the scan into a format that would let me use the ACR/Lightroom tools, made one simple adjustment, and BAM! I was finally able to make a print that gave me the same feeling and excitement I had when I clicked the shutter. All it took was reconceptualizing my approach and adding some Lightroom tools to my Photoshop workflow.
If you are a Photoshop user and want to unlock more from your efforts, take my Lightroom Reimagined class and start using Lightroom AND Photoshop. I’ll help you set aside your frustrations with Lightroom and learn how to see it through the eyes of a Photoshop user, so you can get the most from every step of the process.
Discussion about this post
No posts

